 />
/> />
/>  />
/> 


Right then, I'll not bore you with the chemistry on this or the process of what's taking place, but I will bore you later with it (rofl)
So take some of this: Pure 100% Sodium Carbonate is hard to get in this country so I used the next best thing 100% Sodium Bi-Carbonate
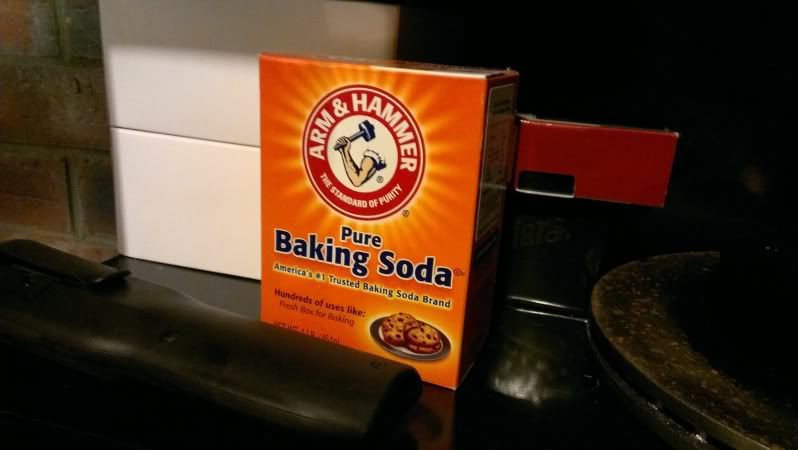
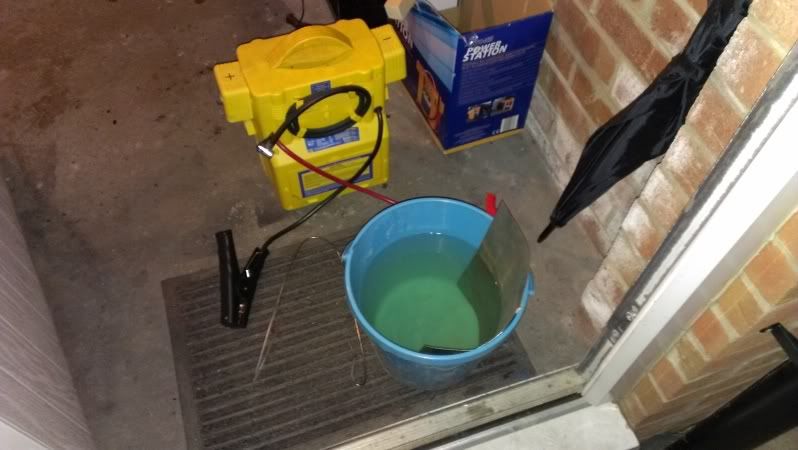
Mix up a mild solution with 3 gallons of water - about 2 tablespoons - this is the electrolyte solution: Find some steel - a larger surface area the better as the sacrificial anode and place in the solution. Get one battery charger - (I used a booster charger as it outputs 15-20 amps) - attach the POSITIVE lead to the sacrificial plate:
Get one rusty cruddy brake caliper:
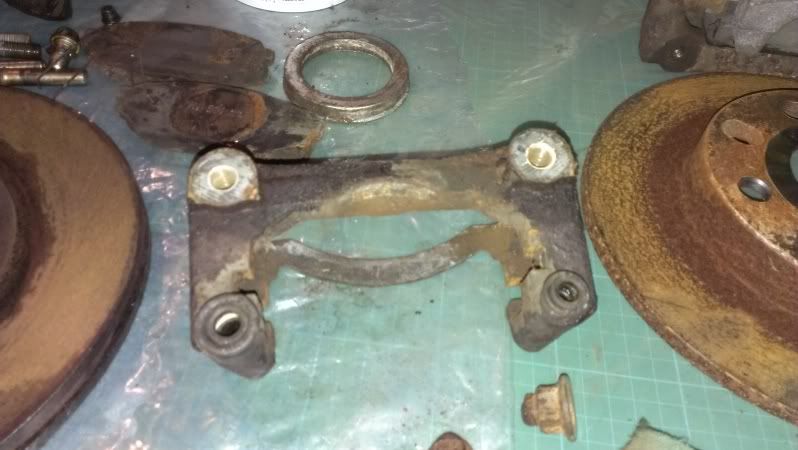
Attache the NEGATIVE lead to some metal and hook onto the caliper - this is the cathode and put it in the solution:
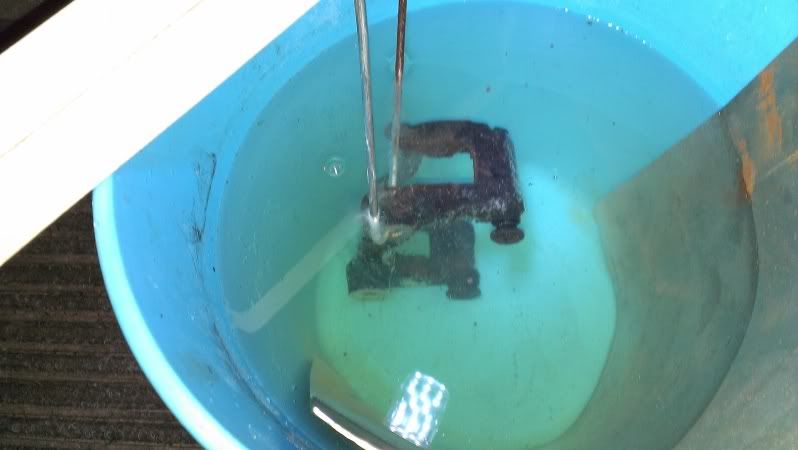
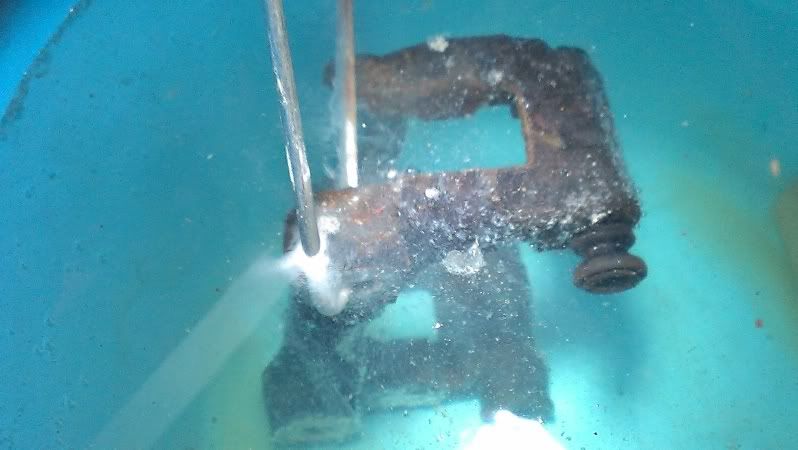
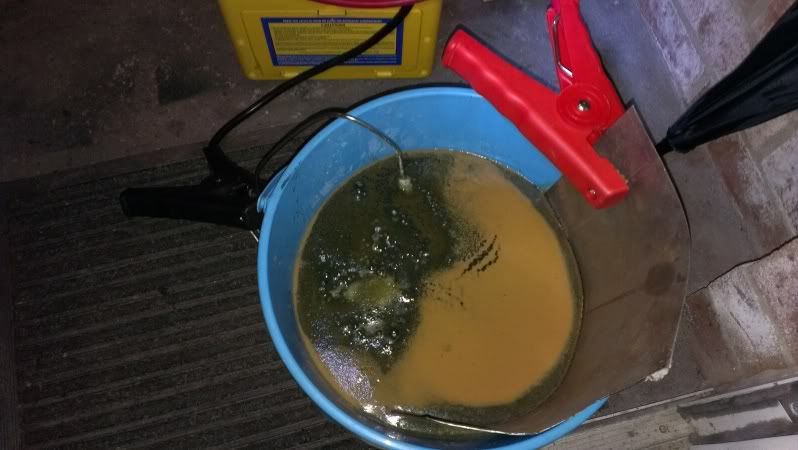
I checked the amps running through with an ammeter and it was only 6 amps - this means the contact between the metal rod and caliper was not good enough, so I made an adjustment and attached it to a bolt... but here you can see the experiment working...it immediately gives off bobbles - this is Hydrogen:
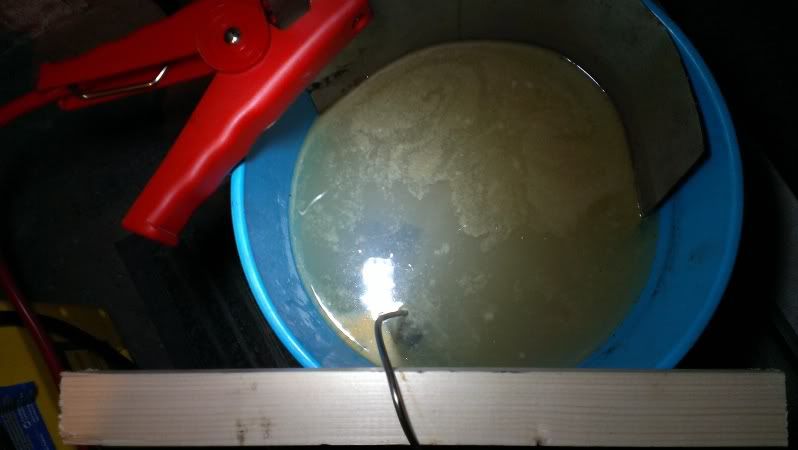
Adjustment made and this is what the solution looks like after 5 mins - we have a steady 18 amps flowing through the electrolyte:
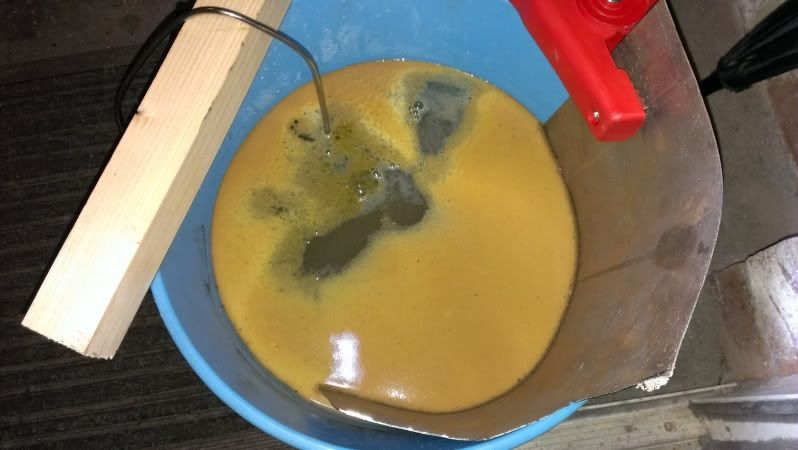
This is it after 20 mins:
Just for ease of showing this experiment, I took the caliper out.
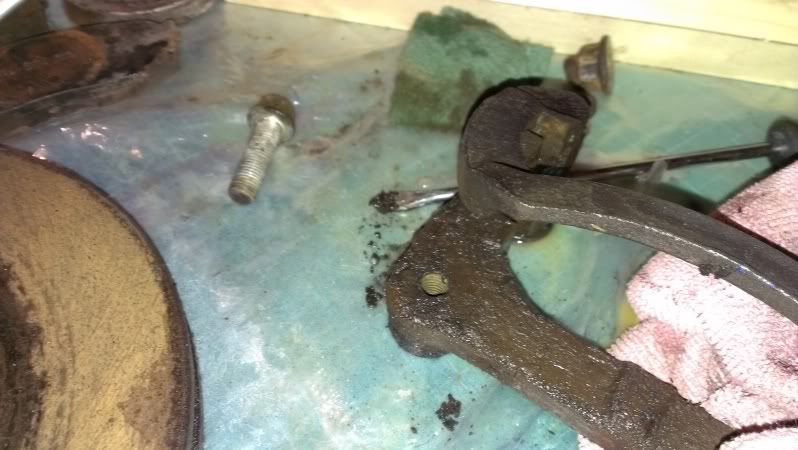
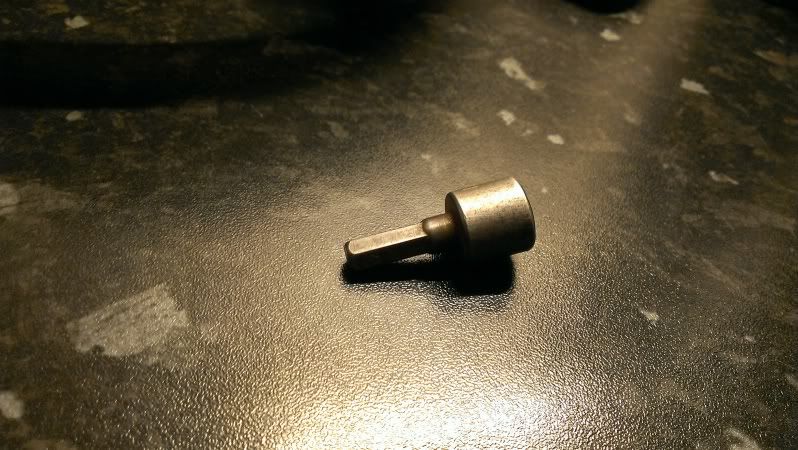
Now the black stuff left on the caliper is magnetite - this is a halfway house of iron oxide - this just rubs off....which you can see on the screwdriver...
Give it a quick rub with a cloth/rag and you are left with rust free metal:
Now this is only 20 mins - leave it longer and all the rust will be taken off the caliper and attracted to the sacrificial plate.... It works with any metal part.
Once this is finished you can re-use the solution as the electrolyte will remain. SO long as the sacrificial POSITIVE metal is not eaten away. Replace as neccessary. Now you are left with just iron rich water. As we have used just baking oda, and we ahve not used stainless steel which contains chromium, this water can be used on your grass in your garden and it will love it.
Totally environment friendly and you now have rust free parts.
I am busy construction a proper vat with 360 degree anodes - this bucket method is just to show you.
There you go - I'll explain the chemistry another day.
However, tehre is one extra bonus with baking soda...... and I will be showing this at the weekend....in experiment 2 :)
Just taken a pic - I put the caliper back in the solution.... this has been in about 40 mins in total now:
You can speed up the process by making a stronger electrolyte by adding more soda crystals....or you can force more amps through it.
Once all the ferrous has been taken off the part and attracted to the positive terminal, nothing else happens....there is no damage at all the part you are de-rusting...it will remove paint, oil, grease as well and leave the base metal in perfect condition.
As you can see I also left the rubber in place - nothing happens to this except any rust residue on it is removed.
Once it is finished, wipe the part down, you now have perfect metal.... it's now ready to protect which you should do as moisture in the air will begin the rust process again, so when I take this out for the final time, rub it down, dry it - it will get a quick coat of zinc primer...and that is it protected - should last a long time once painted :)
I'm doing as many parts as I can this way including bolts....
It's only 12v - so long as the part you are cleaning does not touch the sacrificial part that is attracting the rust, it's perfectly safe.
You can't do this with a trickle charger - well, you can but it will take days.
You need a decent flow of amps and experiment with the electrolyte solution - depends what you are cleaning.
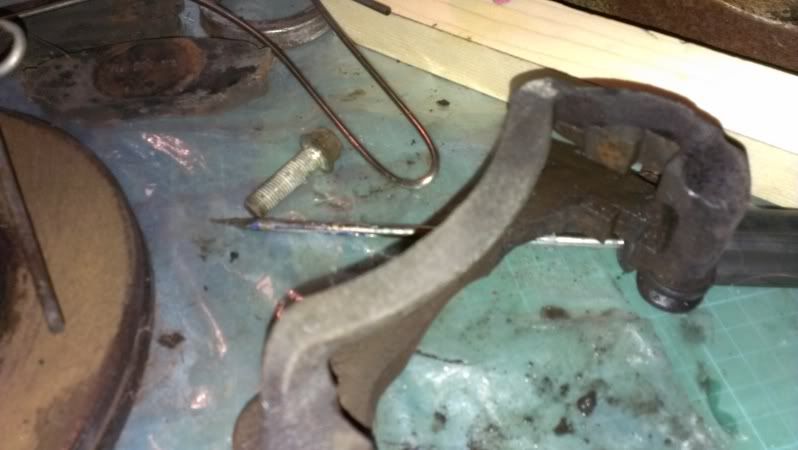
I've taken the part out now - it;s been in 1hr and 5 mins. I'll put it in for 1 more hour to get the really cruddy bits of. As you can see we have nice clean metal and check the bolt - looks like new. I only rubbed these down with a cloth to get the magnetite off... :)

