 />
/> />
/>  />
/> 

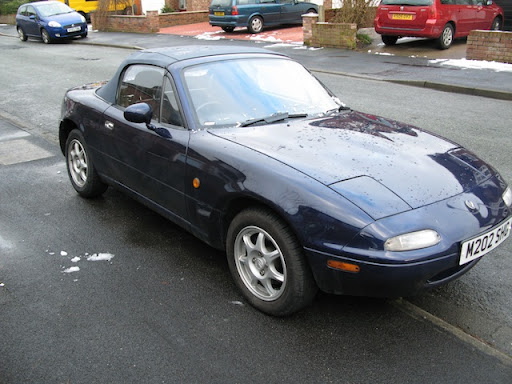
I wanted to make the car stand out a bit, so I worked my way through a couple of online Miata striping web pages (The Stripe Machine, Fez's striped Miatas etc) and eventually came across Sharka in New Mexico.
If you've not seen Sharka, go google. I'll wait.
http://revlimiter.net/blog/2009/05/cool-kids-wear-stripes/
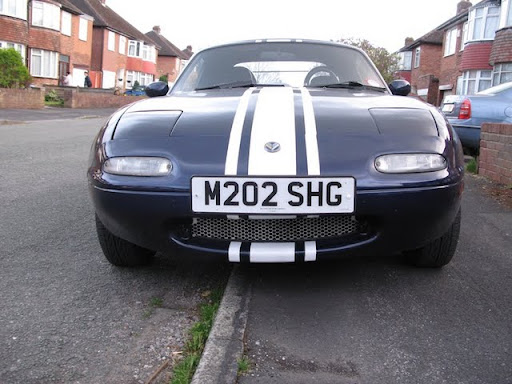
That'll do for me, I thought. Same colour paint, great look. This turned out, months later, to be Adam from Revlimiter, who is also the guy who designed the Secret Gauge Face Project. Anyway, if you like state-0f-the-modding-art Miatas, go check out www.revlimiter.net and look at the Sharka build posts. So, I'd settled on the stripes, and looked into the technique. I ordered some vinyl from these guys http://www.viperstripesdirect.com/ - this comes in rolls of various colours and widths. It's a sticky-backed strip. You'll need just under 4m to do the car: I'd recommend ordering in at least 6 so you can make some mistakes. I went with 40mm and 200mm stripes. You also need a squeezy bottle full of soapy water, a squeegee (I'd highly recommend the squishy rubber ones rather than the hard plastic ones) and a very sharp knife. Oh, and a hairdryer. I wasn't sure I'd be keeping these - I didn't know if they'd go on OK, so I put them over the top of a freshly waxed car. The result's stayed on nicely for months. I wanted the option of pulling them off without upsetting the paint in the future. Make sure the car's clean. Bits of grit will irritate you later. I'd suggest starting with the bonnet, as it's fairly straightforward, and it's also very satisfying. Cut your strip a bit longer than needed, and peel the backing off the vinyl. Mark out your center line - grease pencil, felt tip, whatever. Squirt the soapy water over the vinyl and the car, and place into position - it'll float and you can easily move it around to get it perfect. When it's in position, squeegee the airbubbles out. You want the ends to wrap around panels to keep it neat. I'd suggest that towards the ends you keep the vinyl pretty dry as it sticks harder. Pros do all of this dry, which sticks like hell and makes it easier to go around corners, but only gives you one chance! I was going with a 40mm gap between the stripes so I used a chunk of backing paper off the thin strip to measure the gap. Step back and admire your handiwork. Feels good, man. Next I did the nose - I was going to debadge it at this point, but mine looks to have been bonded on at some point so I cheated and cut a hole in the central strip, then fitted to the car and trimmed the ends. Now for a hard bit: over the bumper. This is hard, as the horizontal ridge in the middle is difficult to go over neatly. You need to warm the vinyl with the hairdryer, and press it into the ridge with the squeegee - getting it to stick without it being so damp it slides off. Keep trying. Creases are bad - these do not come out. Stretches are probably ok. Keep pressing in until it's done, and remember to tuck the edges in nicely. After this, do the bottom of the mouth. This is pretty easy, needs a bit of warmth to get it to follow the contours, but no biggie. Next, cut the strips for the bit over the windscreen. These are very easy to put in. You should now have this:
 Hell yes. Rear deck is easy - it's 6 inches on a flat panel. The boot lid is easy until you get to curving it down over the rear lip - it's a compound curve and so tends to point out on the bend. Heat with the hairdryer. I had to make small slits just above and either side of the third brake light to do this. They're barely visible but at some point I'll redo it using dry vinyl and just bend it with the hairdryer.
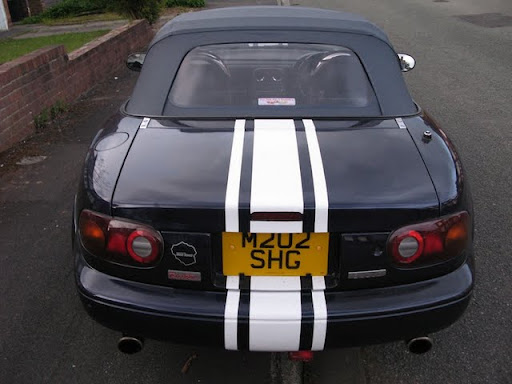 It's not perfect this bit and I intend to redo it when my LED third brake light arrives: I simply cut around the aperture, whereas I should have removed the light instead. Under the number plate's nice and easy. Rear bumper has that awkward ridge in it again, and I might redo it at some point. Again, I was lazy and didn't remove the fog but I'm pleased with how it's turned out. The fog's getting swapped for a white housing and red bulb soon to tighten up the look a bit.
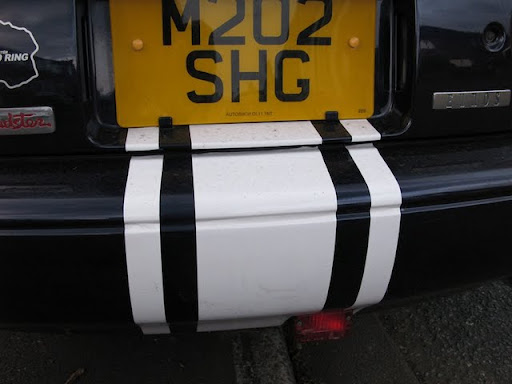 I started this project at about 4pm, in the winter, and finished by torchlight that night at about 7 o'clock. The thing to remember is that none of this is hard, that it's easily reversible, and it doesn't damage your paint. If you get it wrong, do it again! End result?
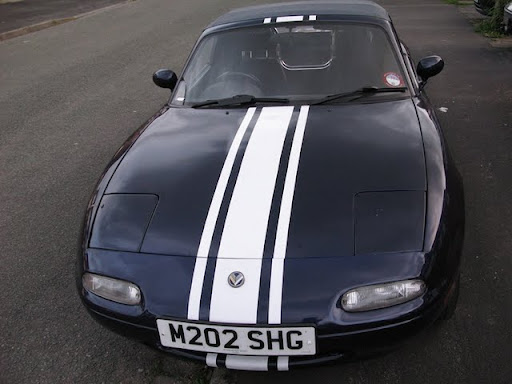
From the top:
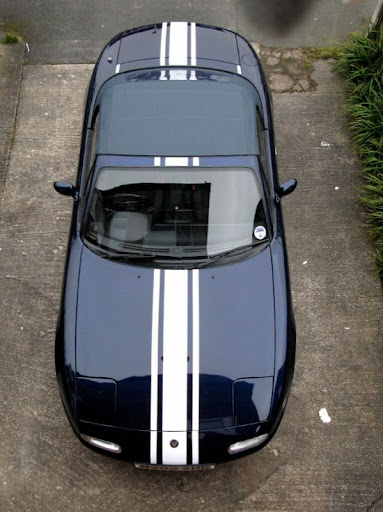
I like my stripes.
