They're total rust pits blacky, if they'd used the same level of corrosion protection that VAGs used in the same era then it'd still be fine. Still, it's made 20 years which is probably double the design life
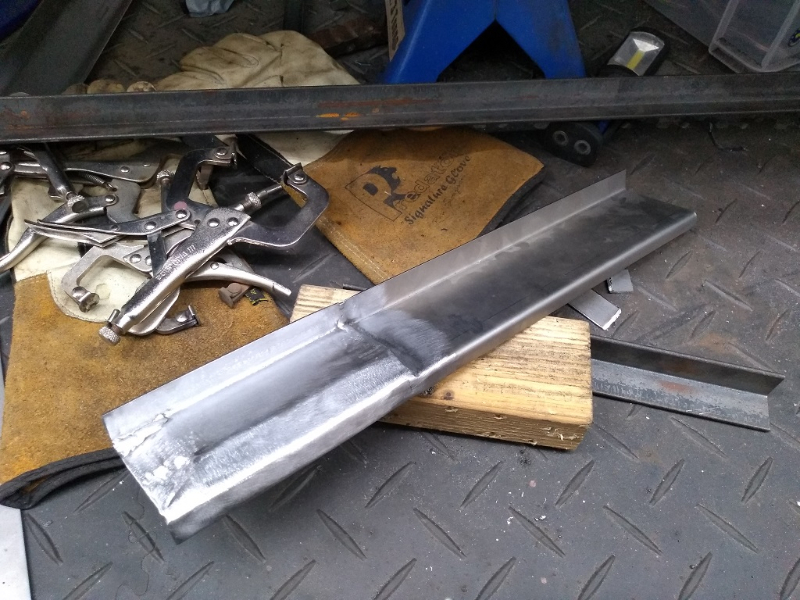
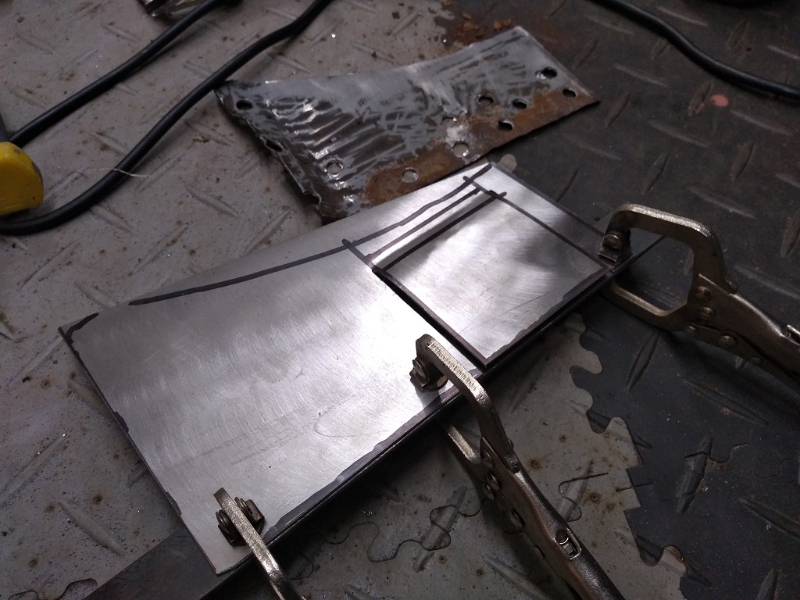
Done a bit on the inner sill, made the new front piece including jacking point like before. It's sloped up the front to mate with the front bulkhead reinforcement panel. Tacked in place to get the shape

- 01_tacks.jpg (416.86 KiB) Viewed 6273 times
Removed, fully welded both sides and dressed back
- 02_dressed.jpg (470.05 KiB) Viewed 6273 times
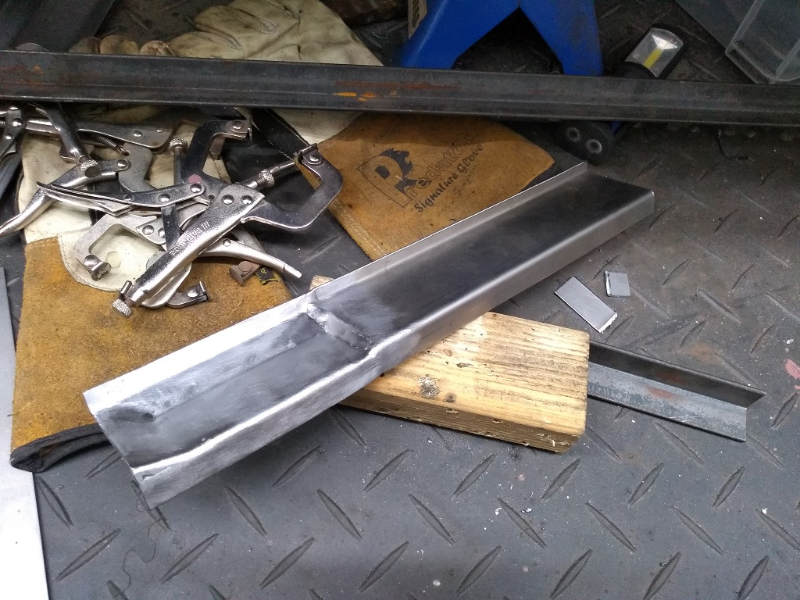
- 03_top_dressed.jpg (471.08 KiB) Viewed 6273 times
Decided to move the ECU and wiring over to the side for welding, had bad omens of flames getting to it

Removed the anti tamper nuts by welding M10 nuts to the top
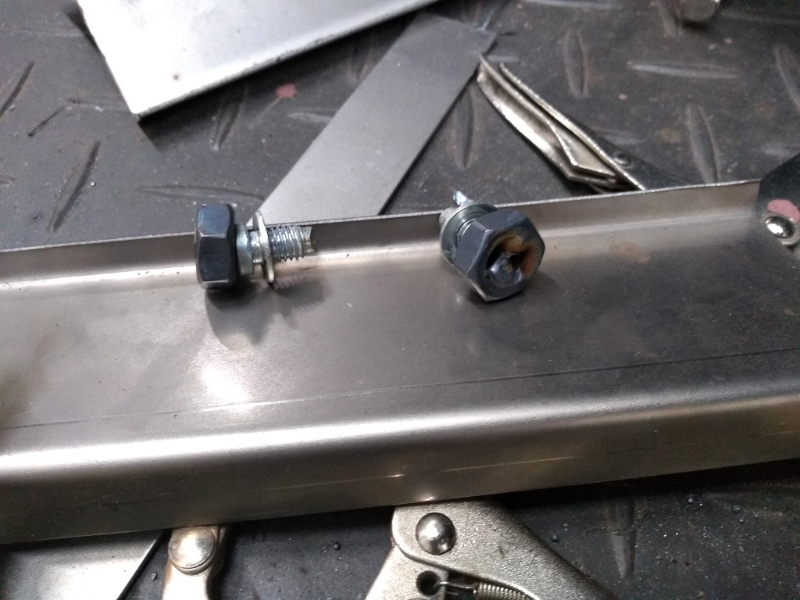
- 05_ECU_bolts.jpg (361.53 KiB) Viewed 6273 times
Put back on the car, welded and dressed back. The red weld thru primer put on the mating surfaces before
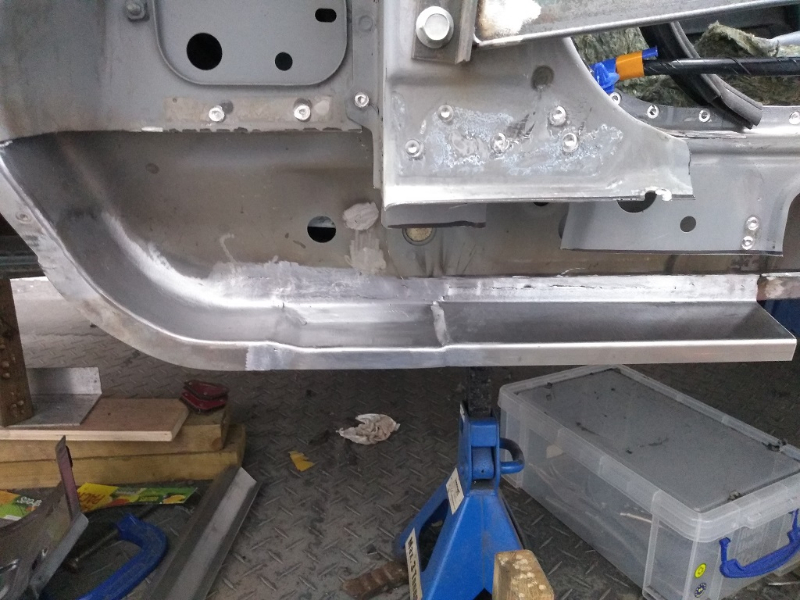
- 04_finished.jpg (410.02 KiB) Viewed 6273 times
Thought the rear would be the same as the other side
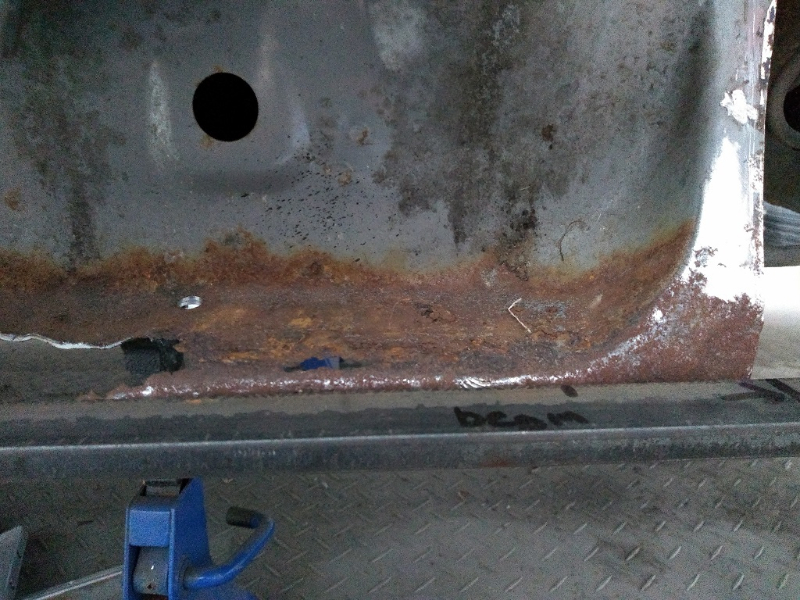
- 05_rear_mess.jpg (537.03 KiB) Viewed 6273 times
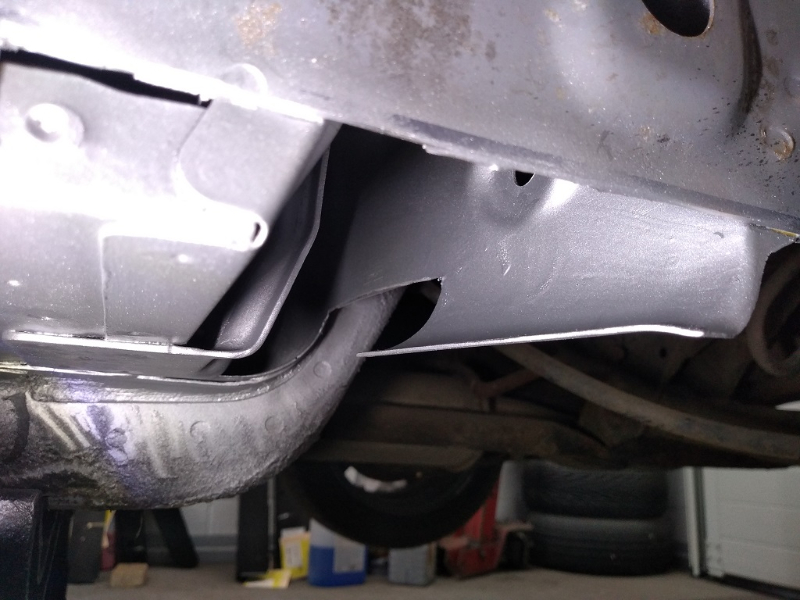
Unfortunately the panel that joins the rear sill to the transmission tunner and reinforces the back is in a bad state, a lot worse than the other side
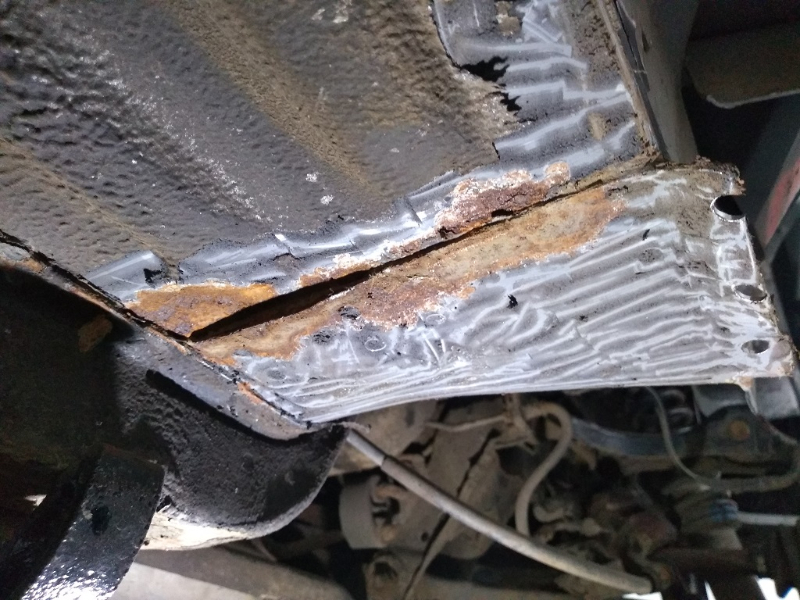
- 06_reinf_panel.jpg (473.69 KiB) Viewed 6273 times
With the inner sill removed the rust on the inside was bad, crusty stuff quite a way in. Doesn't look too bad in the picture but it was quite bad
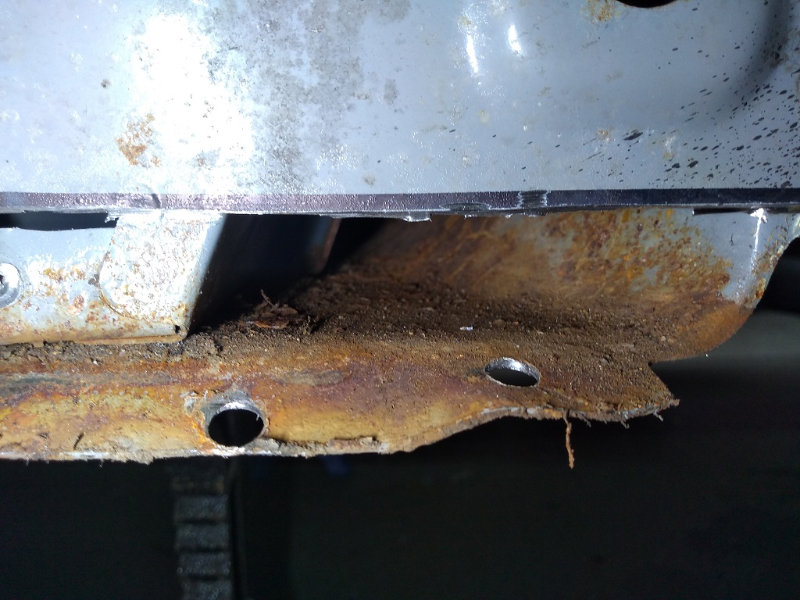
- 07_inner_reinf_panel.jpg (467.27 KiB) Viewed 6273 times
Drilled out the spot welds - which were artisan in placement
- 08_wierd_spots_drilled.jpg (448.98 KiB) Viewed 6273 times
Cut out the bad bits enough to get a 2" wire wheel in there to rag out what was left

- 09_removed_dressed.jpg (399.29 KiB) Viewed 6273 times
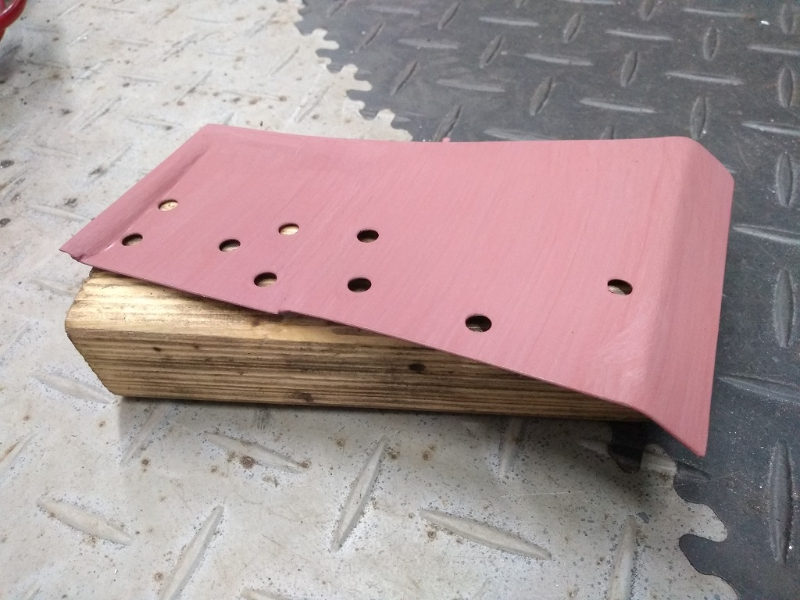
Made a new part. I could have hammer formed it but it was easier to cut a pair of slots to make the "bulge" for the bracked it needs to clear
- 10_new_panel.jpg (405.64 KiB) Viewed 6273 times
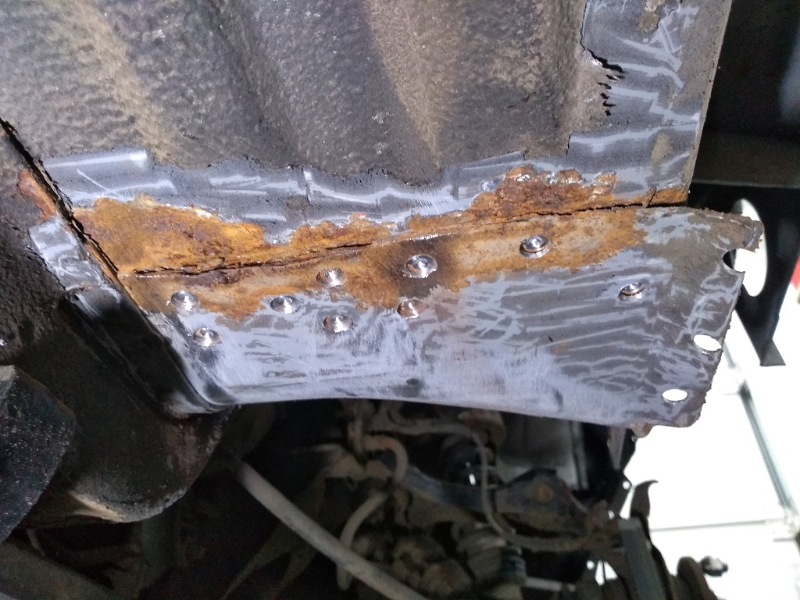
Welded both sides, dressed back and some primer on it. I put the plug welds back in the same place as they were, even tho it's a bit wierd
- 12_new_part.jpg (385.38 KiB) Viewed 6273 times
I used the rust.co.uk "molecular rust converter" on the inner.. seems the same as kurust to me.. then scuffed it up and put some frosts zinc aerosol on it
- 11_tidied_inner.jpg (357.16 KiB) Viewed 6273 times
Pushed into place, seems to fit alright
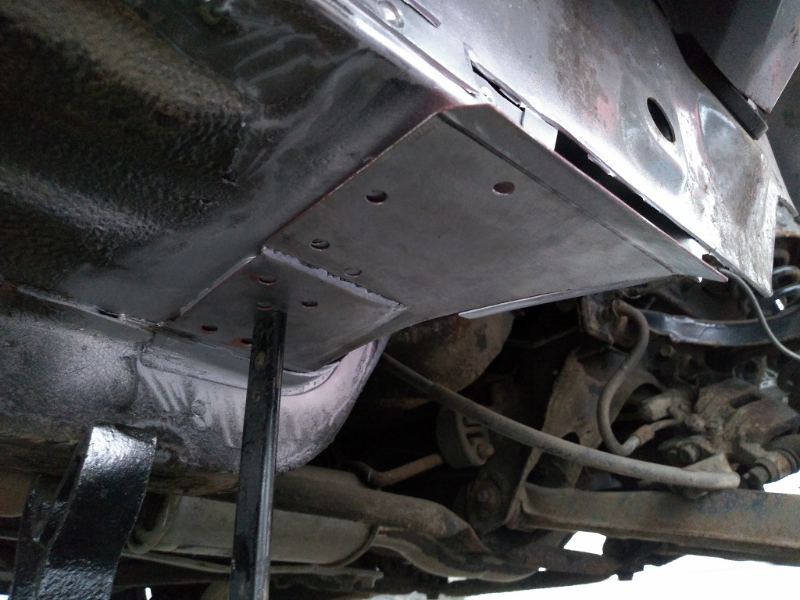
- 13_in_place.jpg (446.47 KiB) Viewed 6273 times
Would have done a bit more but it was my turn to do dinner. Should get it done tomorrow and get back to where i thought i'd be
 />
/> />
/>  />
/> 


