 />
/> />
/>  />
/> 

Remember the 6 P's. Perfect Preparation Prevents p*ss Poor paintwork. (made that up).
Basically that means get everything as good as possible before the Top Coat. If you don't have a good smooth scratch free finish before you top coat, the imperfections will show up even worse when you paint it.
To fill a dent, primer and paint, you will need. (rough guide)
A grinder with a soft pad
80 and 120 grit production paper
320, 600, 1200 wet and dry
masking tape
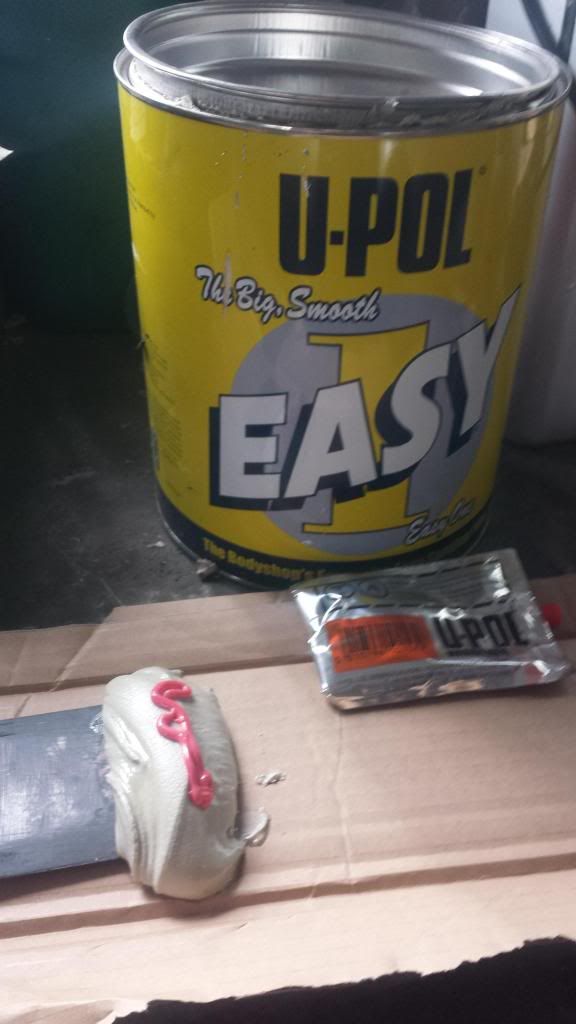
Body filler
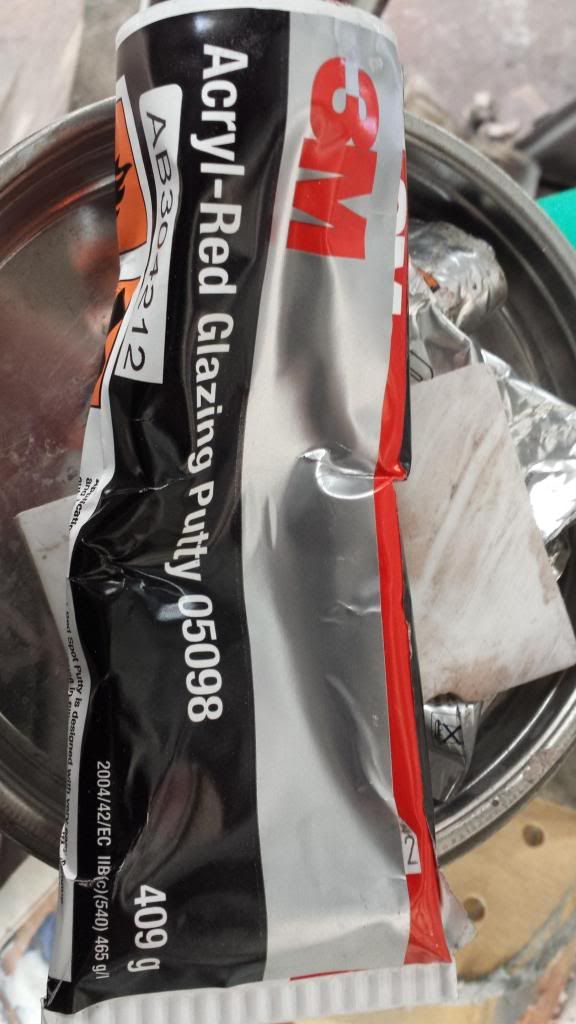
acrylic putty (optional)
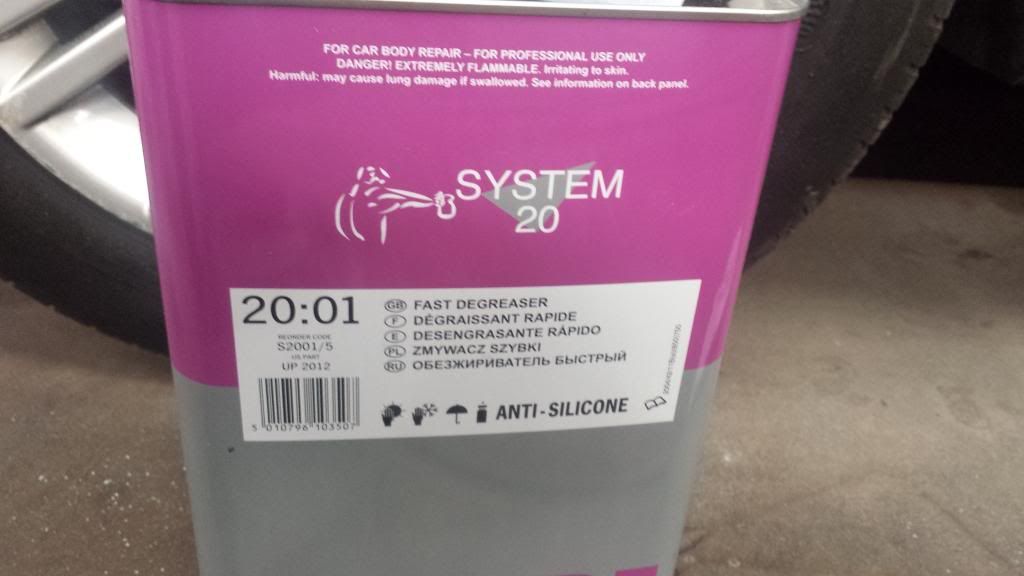
Pannel wipe de-greaser (wax silicone and polish are a painter enemy)
G3 compound
Primer
aerosol basecoat (cellulose)
areosol laquer
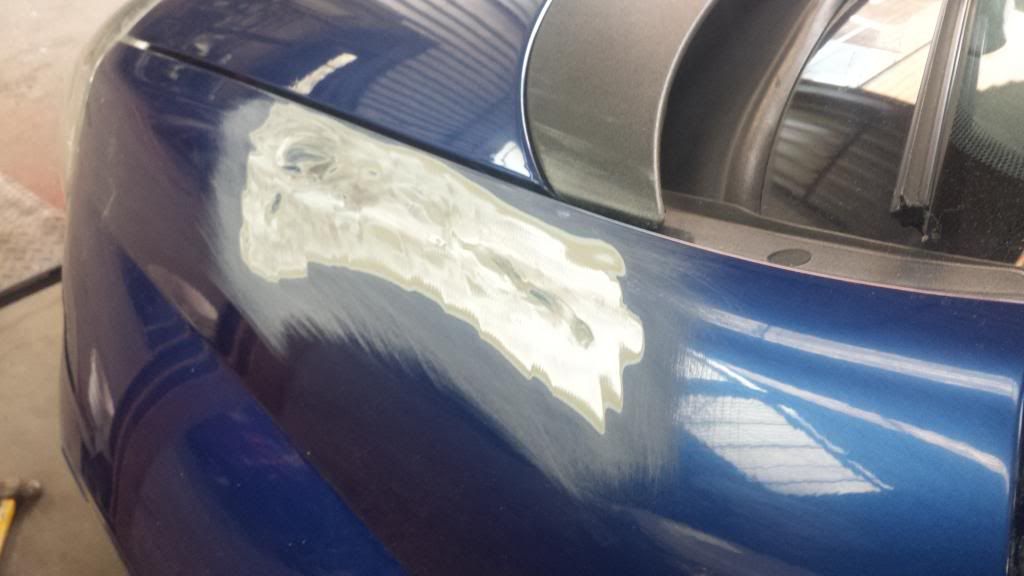
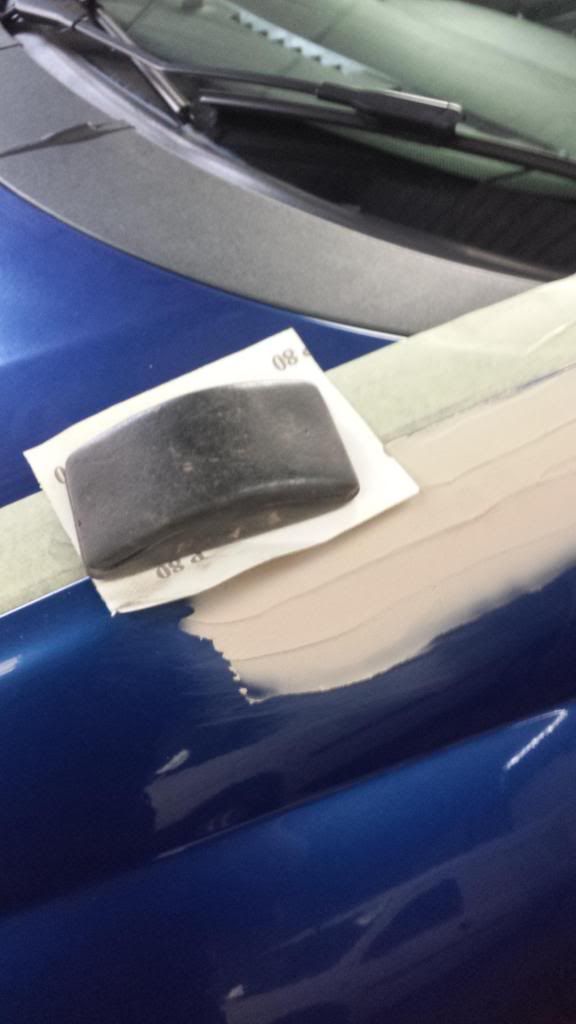
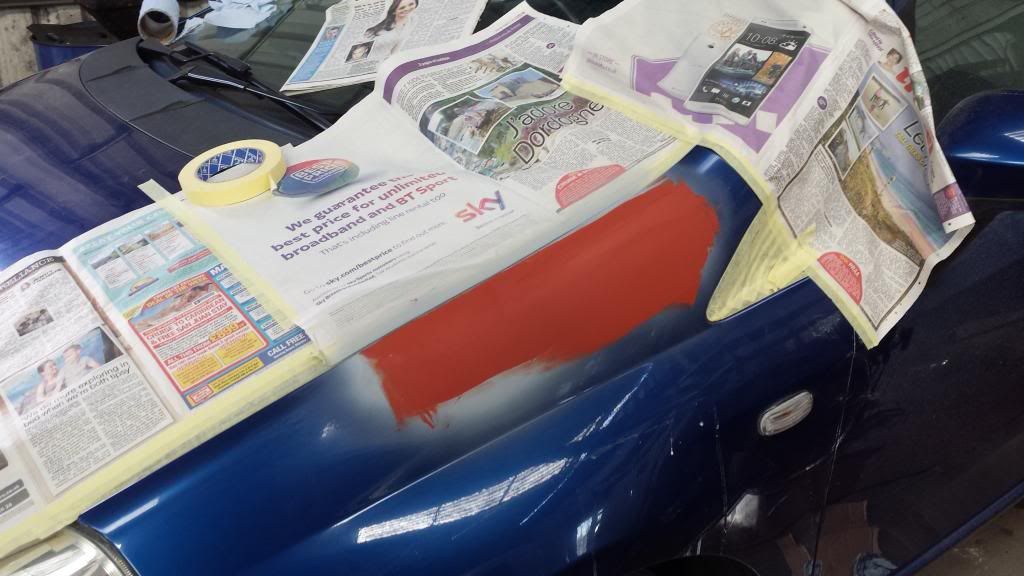
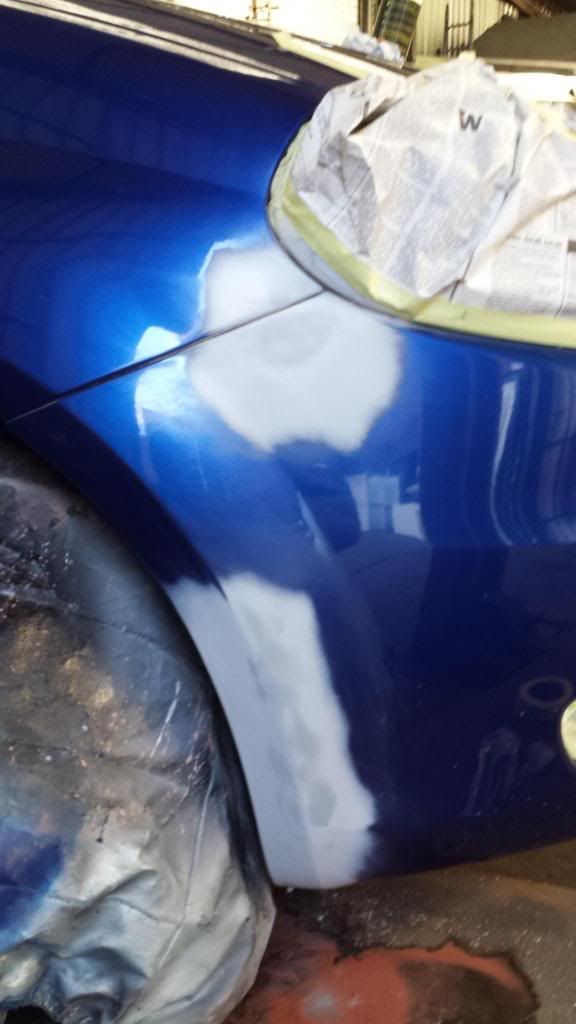
Ok so here is a dented wing which i have ground the paint away from and around the dent. I then rubbed around the edges of the ground out area with 120 grit. This gives body filler something to key to and helps prevents rings and sinkage later.
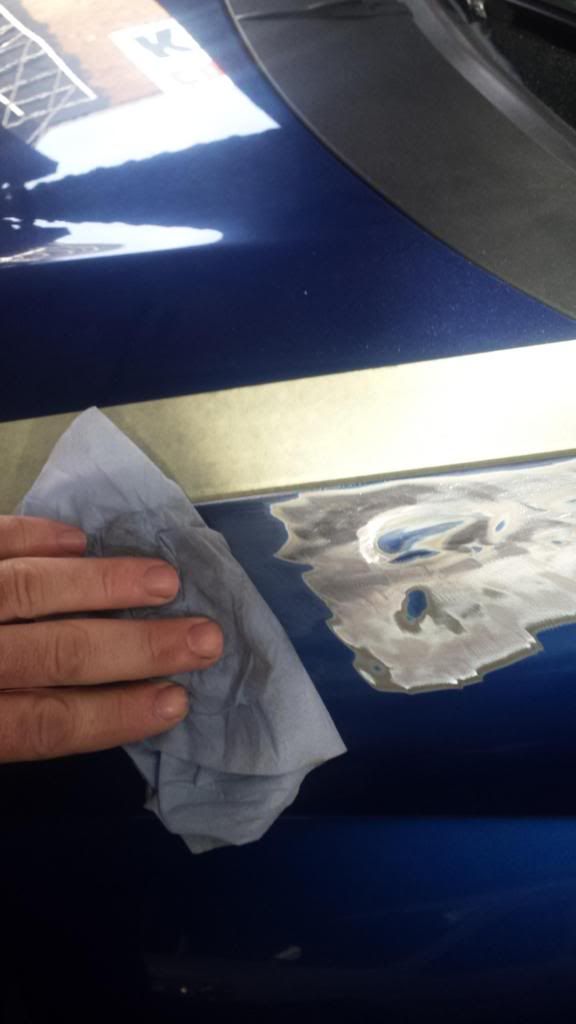
Wipe the whole area with de-greaser. That means the full pannel. If you dont have any you can compound the whole area with g3 to remove polish.
Filler
Filler on wing. When it come to flatting it down Try to use a block. This helps to level everything and remove bumps etc. You can't get it flat with finger ends.
Sometimes you can't get it in one go and you need a little bit extra in low spots.
TIP. sand the majority off with 80 grit and then switch to 120 grit. The whole prosses is about getting finer and finer with sanding papers. All the scratches need to go!! We then switch to 320 wet/dry to smooth more scratches out and then 600 grit.
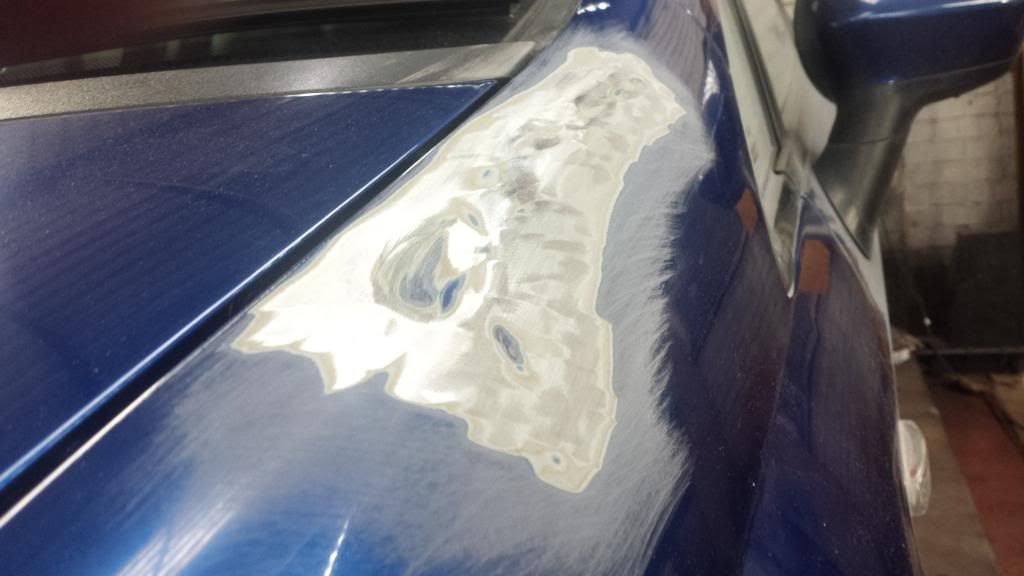
The shape is there on this photo and I then switch to finer wet/dry before primer.
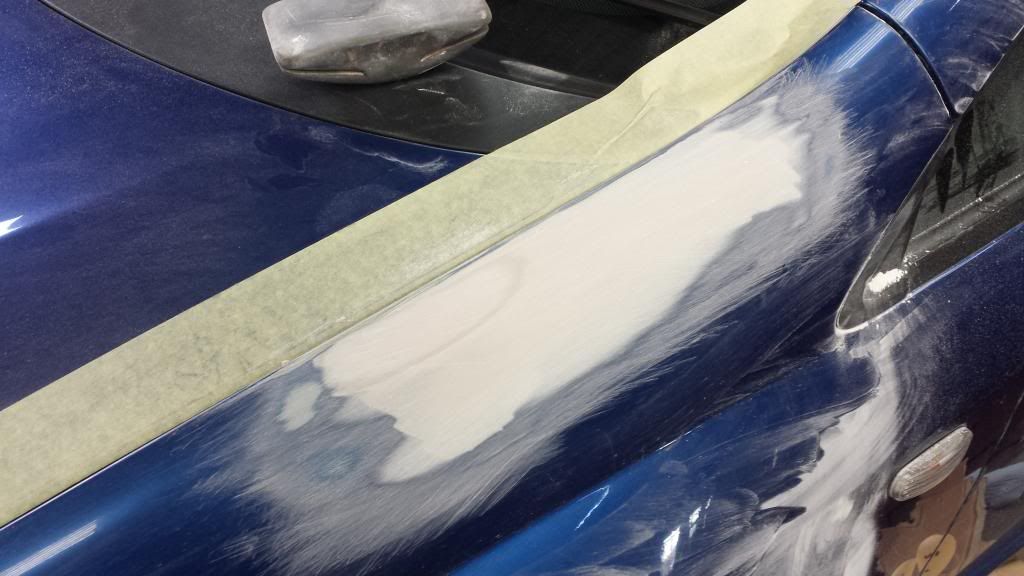
The filler is quite coarse that i have used and has air bubble holes when rubbed back. You can use a finer filler or apply a putty over the top to cover imperfections up.
Putty added
The putty is rubbed back with 320 grit and the 600 grit. This will be primed again. At this point Ive also G3 compounded the area that the paint will blend into.
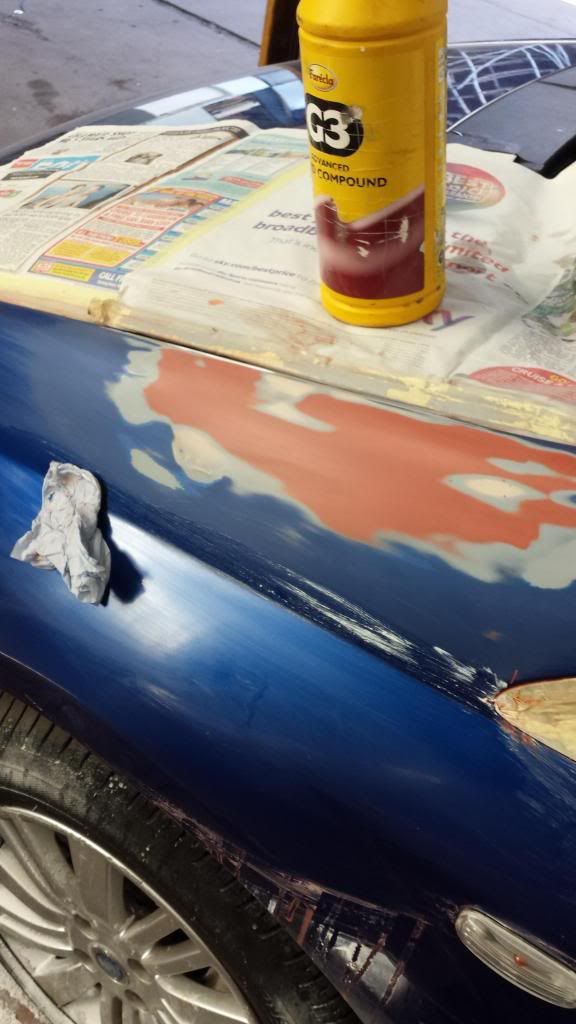
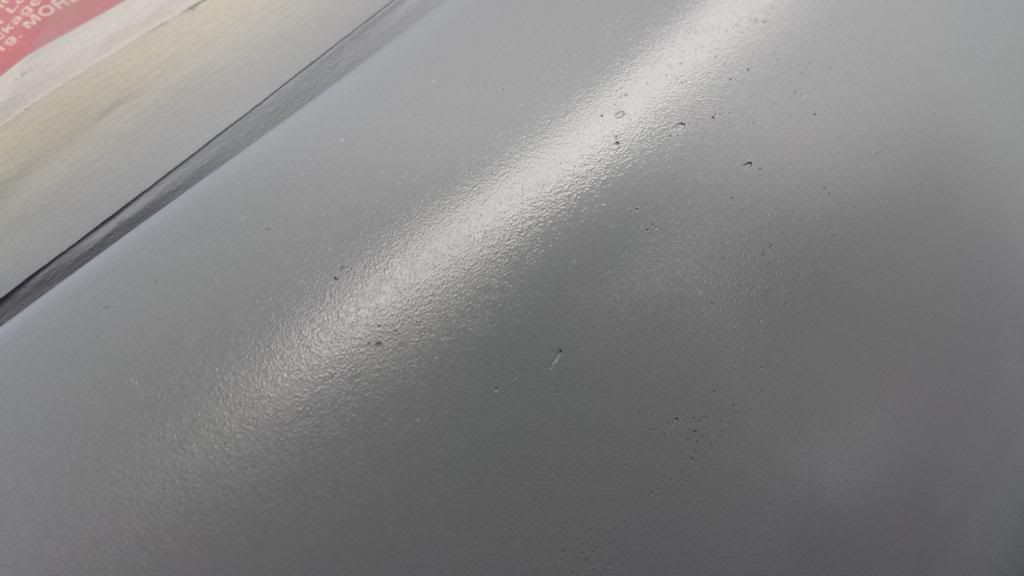
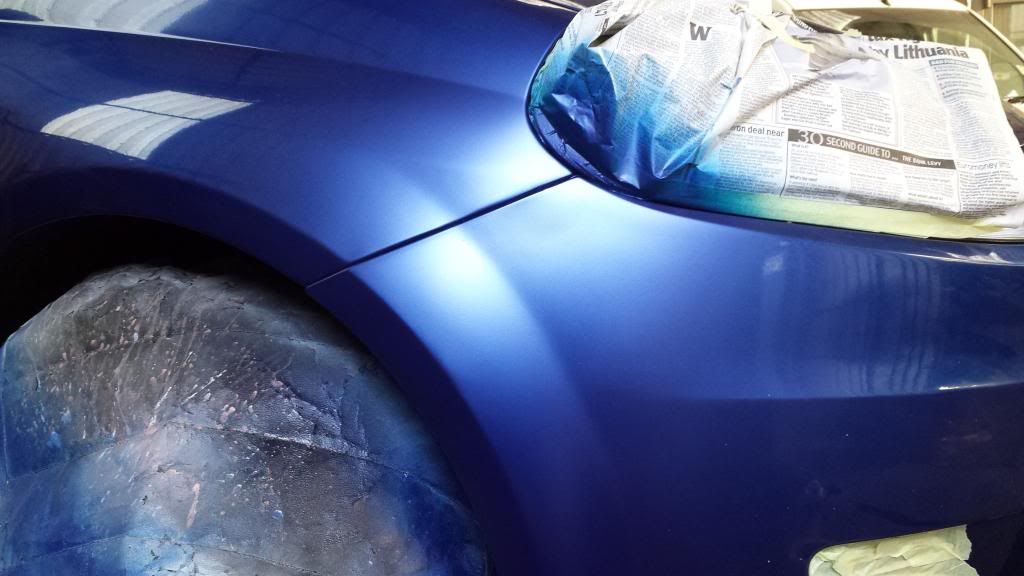
The area is flatted back with 1200 wet/dry as you can see the finish is nice and smooth ready to paint over.
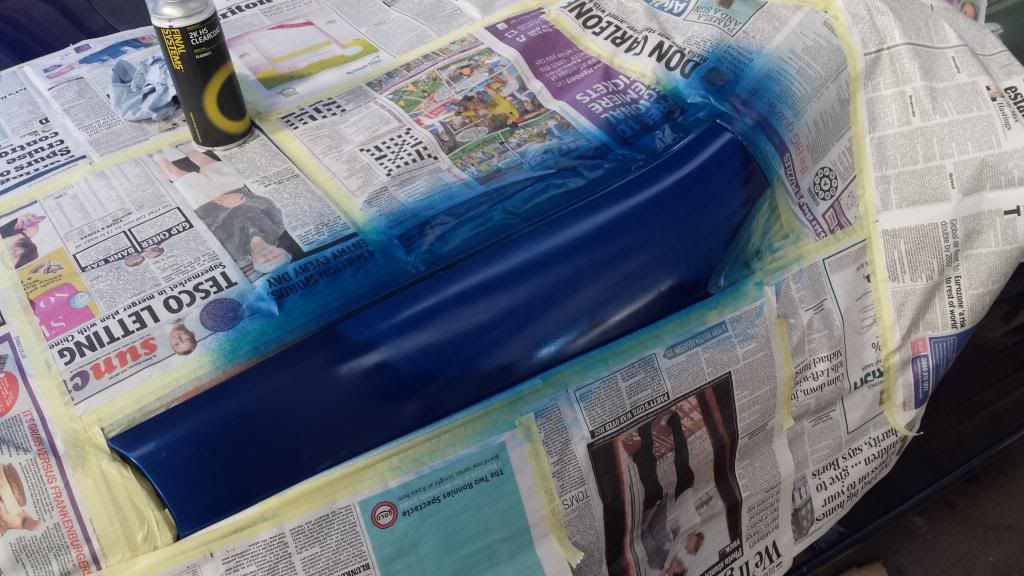
Another area getting painted.
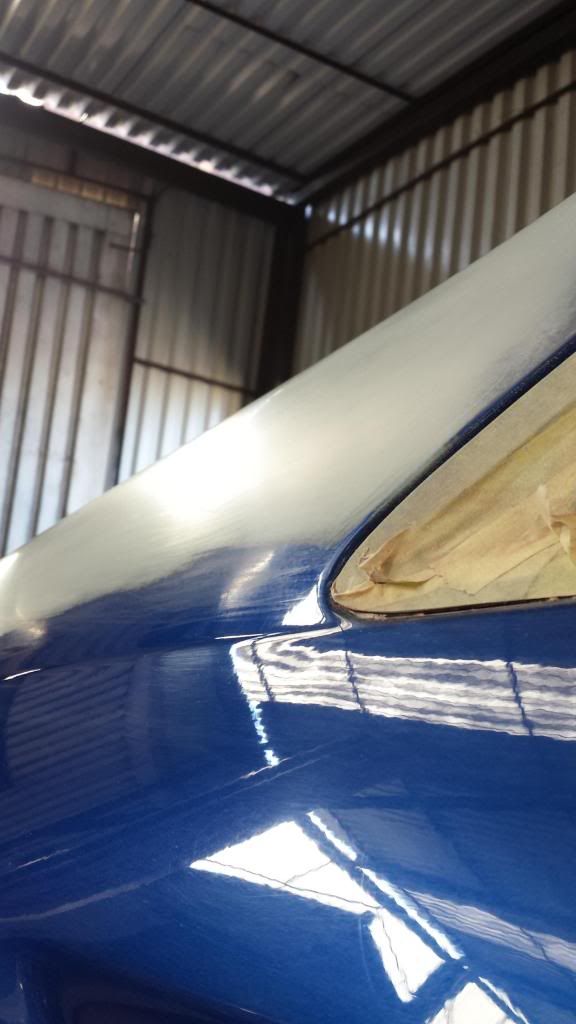
First coat of base coat. This will need around 4 coats. I'm painting upto the crease in the wing top, and on the front bumper it will be blended in.
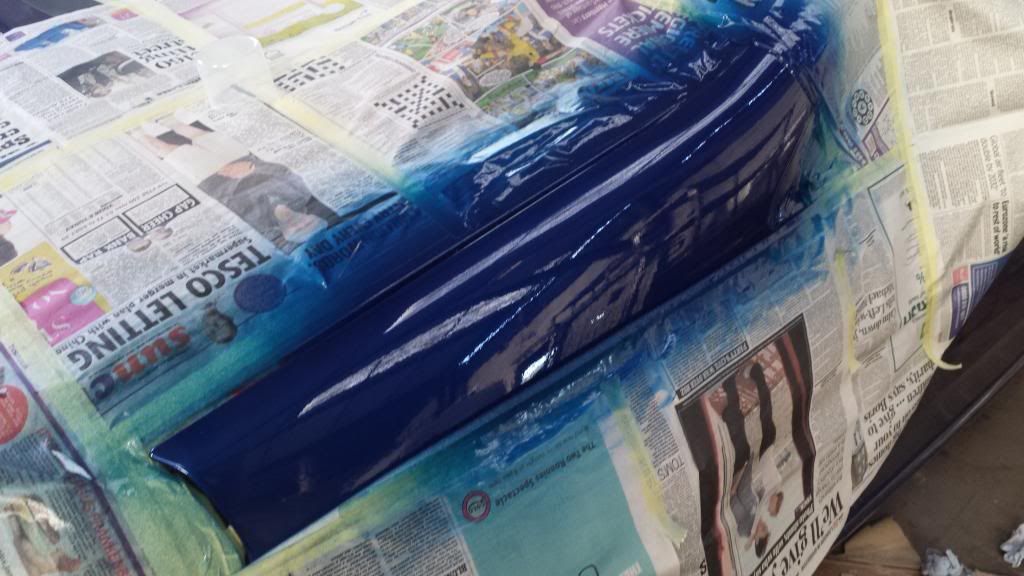
This is a first coat of a 2k aerosol laquer. Its a light coat to key the laquer.
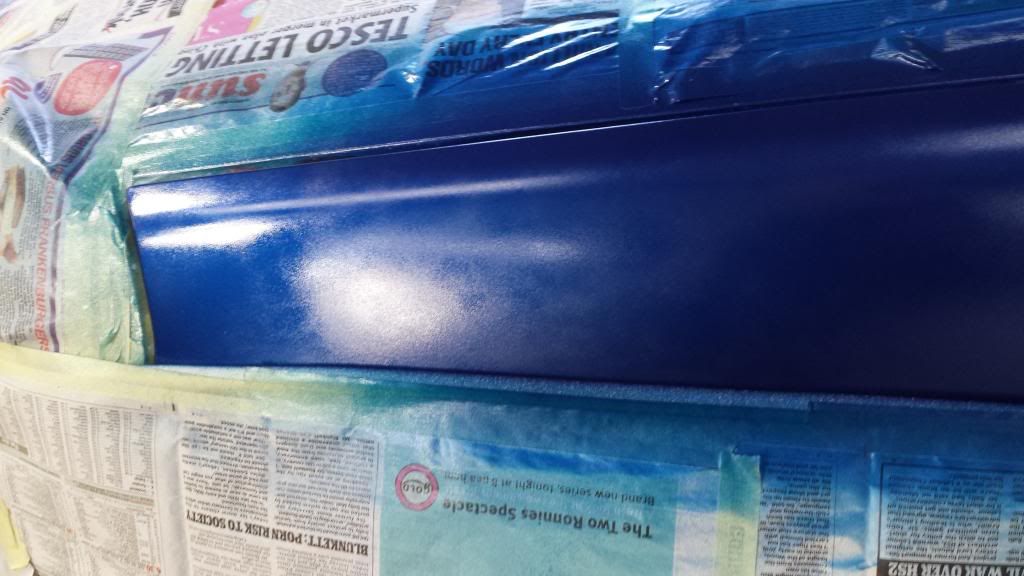
3 coats of laquer. The first was light the second two heavier.
Spray across the panel in straight even strokes with the next stroke half covering the one before.
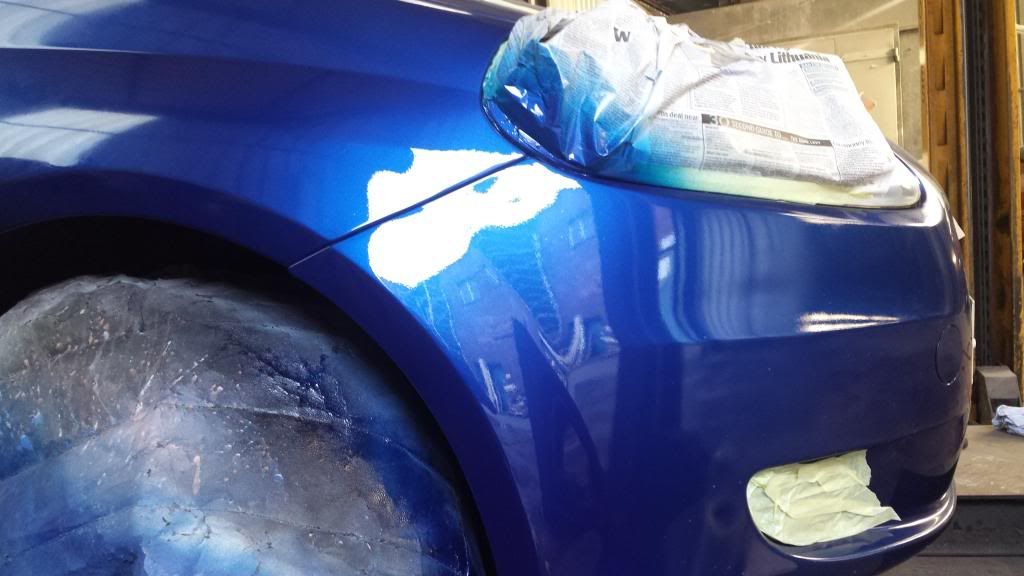
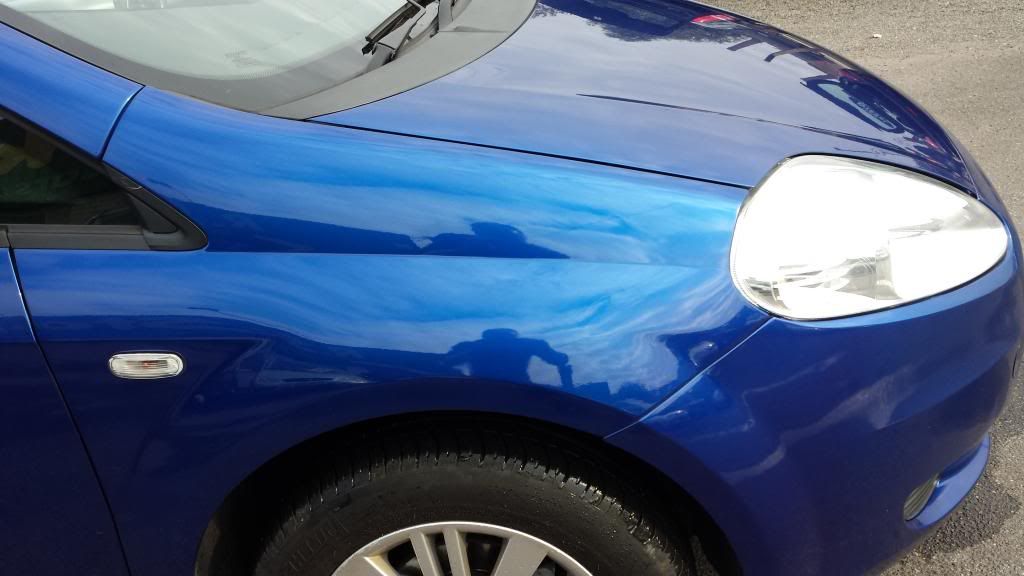
Not bad out the can. The pannels can be polished to a higher shine after a few days drying.
Please add any more tips if you have any, or ask away with questions.
Cheers Neil
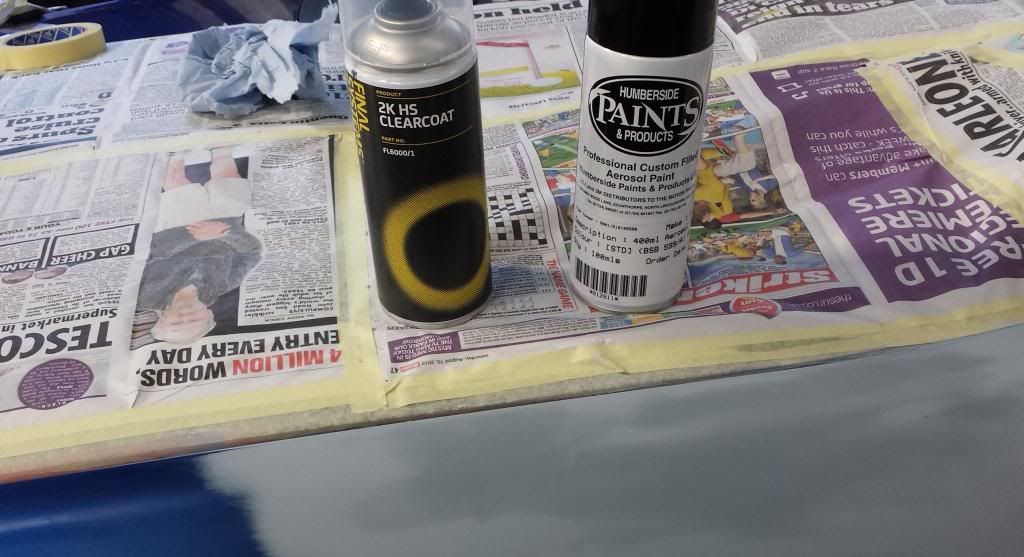
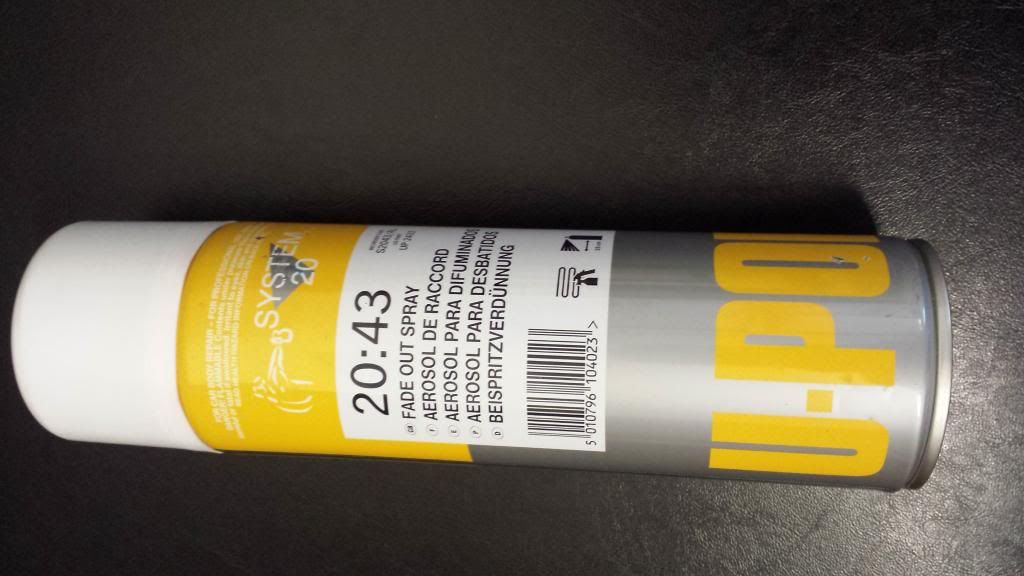
Just to add this is the paint and laquer I used here.


 Well done